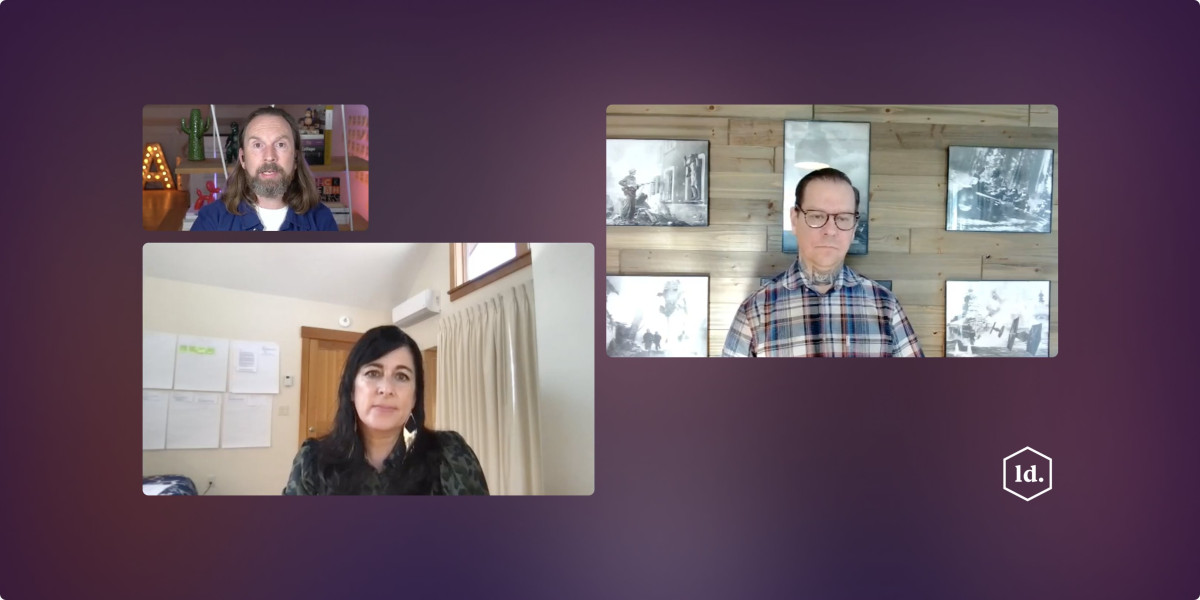
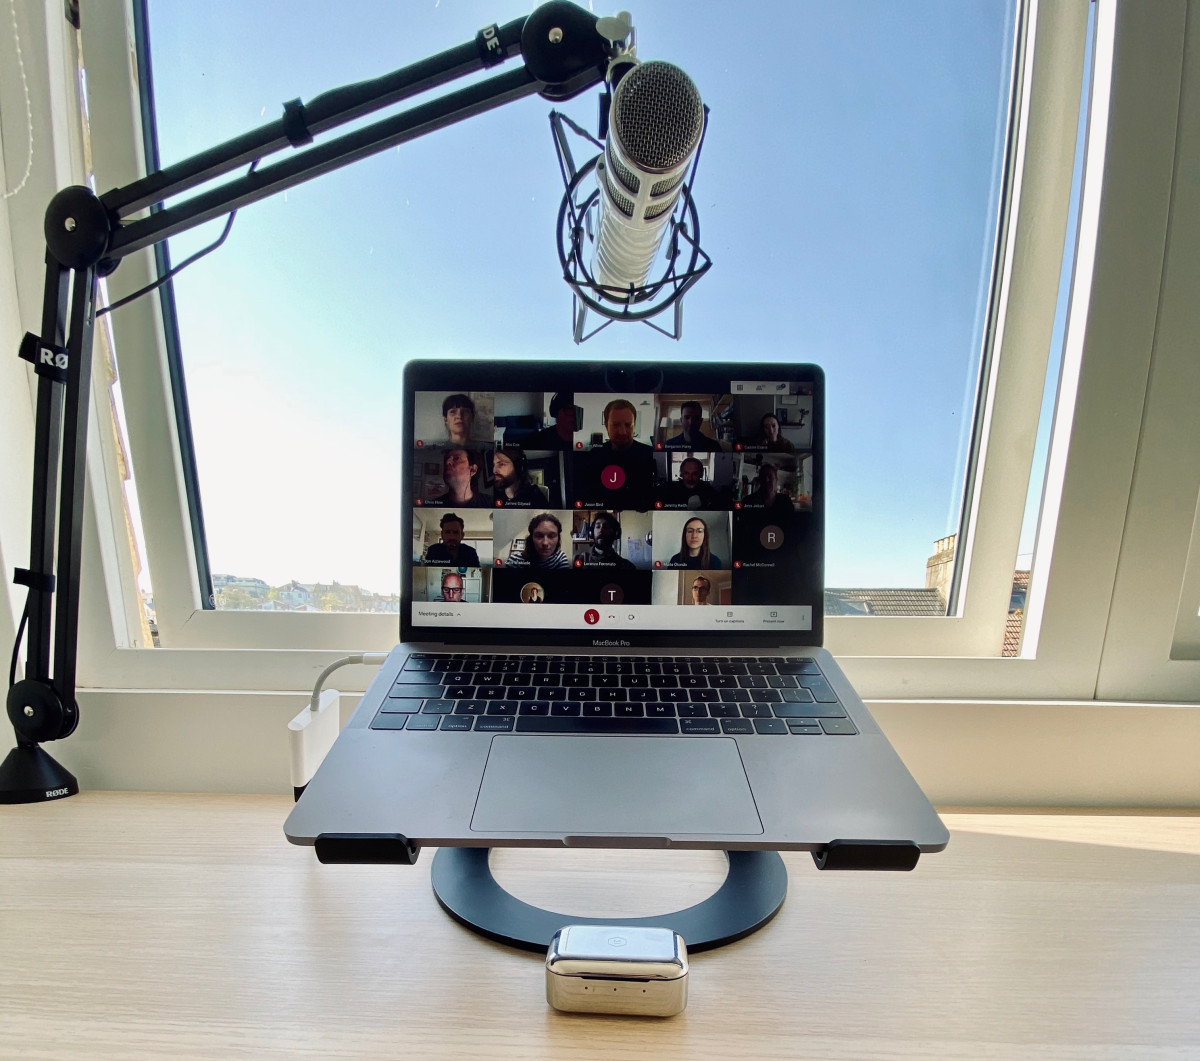
My Home Video Conferencing Set-up
A lot of folks have been asking about the video conferencing set-up I've been using for LDFest, as apparently it looks like I'm on TV. So I thought I'd write a quick teardown of the tech. Here goes...
I'm sure we've all been on calls with somebody who look like a government whistleblower (or worse). So the first thing you can do to improve your video quality is to sort out your lighting. The biggest no-no is sitting with your back to the window, as it effectively puts you in silhouette, so the easiest thing to do is to turn your chair around. As well as being bathed in glorious, diffused sunlight, you'll also get to look out the window, which I class as a win.
Now that people can see your face, they can also see what's behind you. Nobody wants to look at a blank wall, a pile of washing, or that weird collection of books about WW2 mega-structures you've been collecting, so it's time to dress the set—which is a fancy way of saying, move stuff around. I hid the spare bed behind a large picture, manoeuvred my freestanding book case so it was in shot, and artfully arranged a few cool books and nik-naks, to make it seem like I had a life.
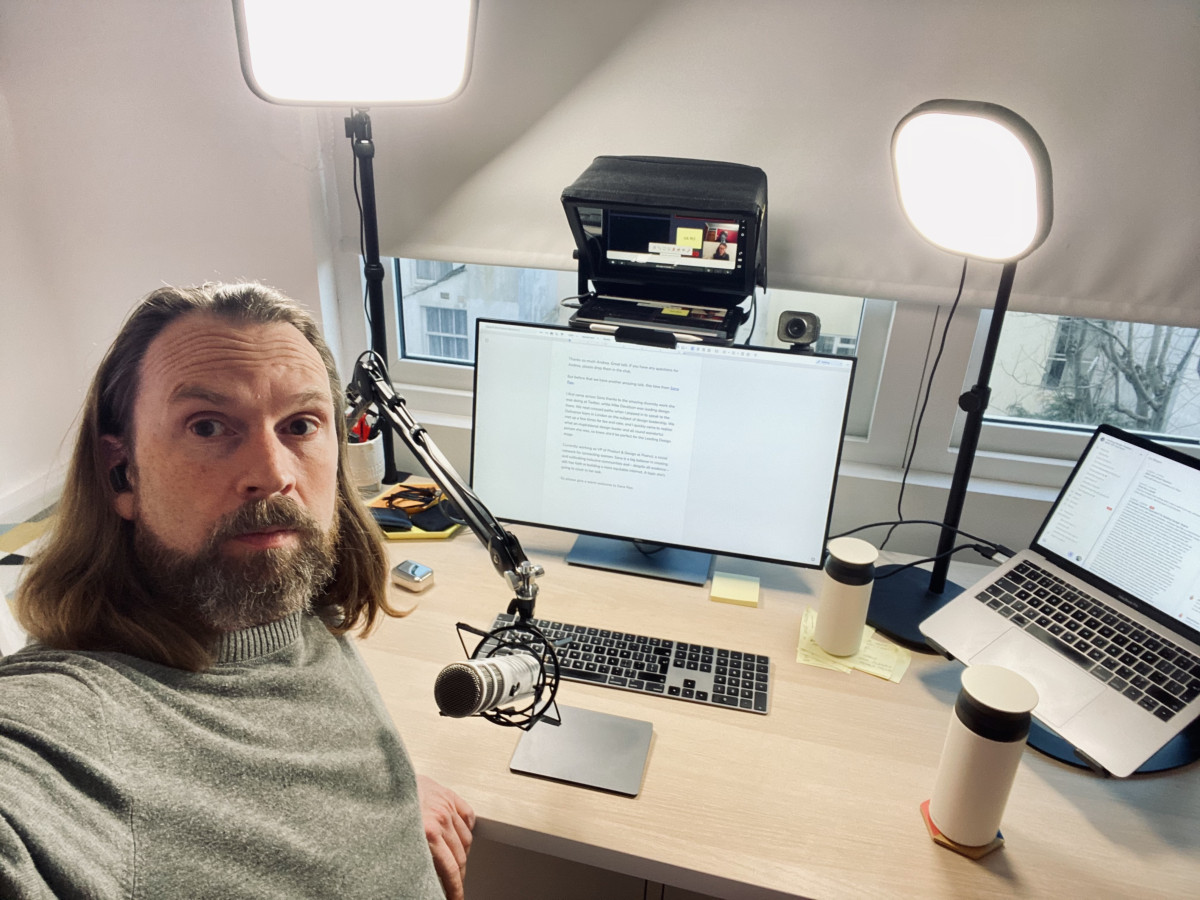
The next thing to focus on is your audio. I ended up getting a Rode Podcaster because I liked the way it looked (I am a designer after all), but a lot of folks will opt for the Blue Yeti, which is a few quid cheaper. I bought a set which came with an arm you can clamp to your desk, and a shock mount to protect it from impact sound. The Rode Podcaster has a low gain and is quite directional, which means you need to have it fairly close to your mouth. However it also means that it cuts out a lot of background noise and echo. Especially helpful if you live in Brighton and have seagulls mating on your roof.
My next investment was a slightly better web cam. I opted for the Logitech Streamcam, which was better than the built-in camera on my MacBook Air, but nowhere near as good as the one on my iPhone. So if you're looking for a cheap webcam hack, it may be worth using your iPhone and an app like Epoccam.
With the basics out of the way, it's time to invest in a few lights. I started with a Elgato Keylight Air, which you can connect to your computer through wifi, to control its brightness and colour temperature. I then upgraded to a second light — this time the slightly more powerful Elgato Keylight — which I have clamped to my desk. One light acts as the main light, in order to illuminate your face and pick you out of the background. The second light, gets rid of any nasty shadows and prevents you looking like you've got a big nose, a double chin, or have been out of the razz all night. I generally have my lights set on the slightly warm side, as I'm a pasty Brit, so it makes me look like I have some semblance of a tan.
After a few months using the Logitech camera, I realised it was time for an upgrade. I'd been on calls with a few friends who had that lovely Bokeh effect, and that's only really possible with a more traditional camera. I opted for a Sony a6400, although a lot of my friends have splurged on the Sony 7iii. It's a great buy if you're into your photography and are looking for a new camera. However I'm not going anywhere at the moment and do most of my photography on my phone, so this was purely for streaming purposes. You can't connect most traditional cameras to your computer directly, so you need to get an Elgato Camlink dongle which allows your computer to recognise your camera as a webcam. I also bought a cheap monopod and head, which I've positioned behind my monitor and clamped to the desk.
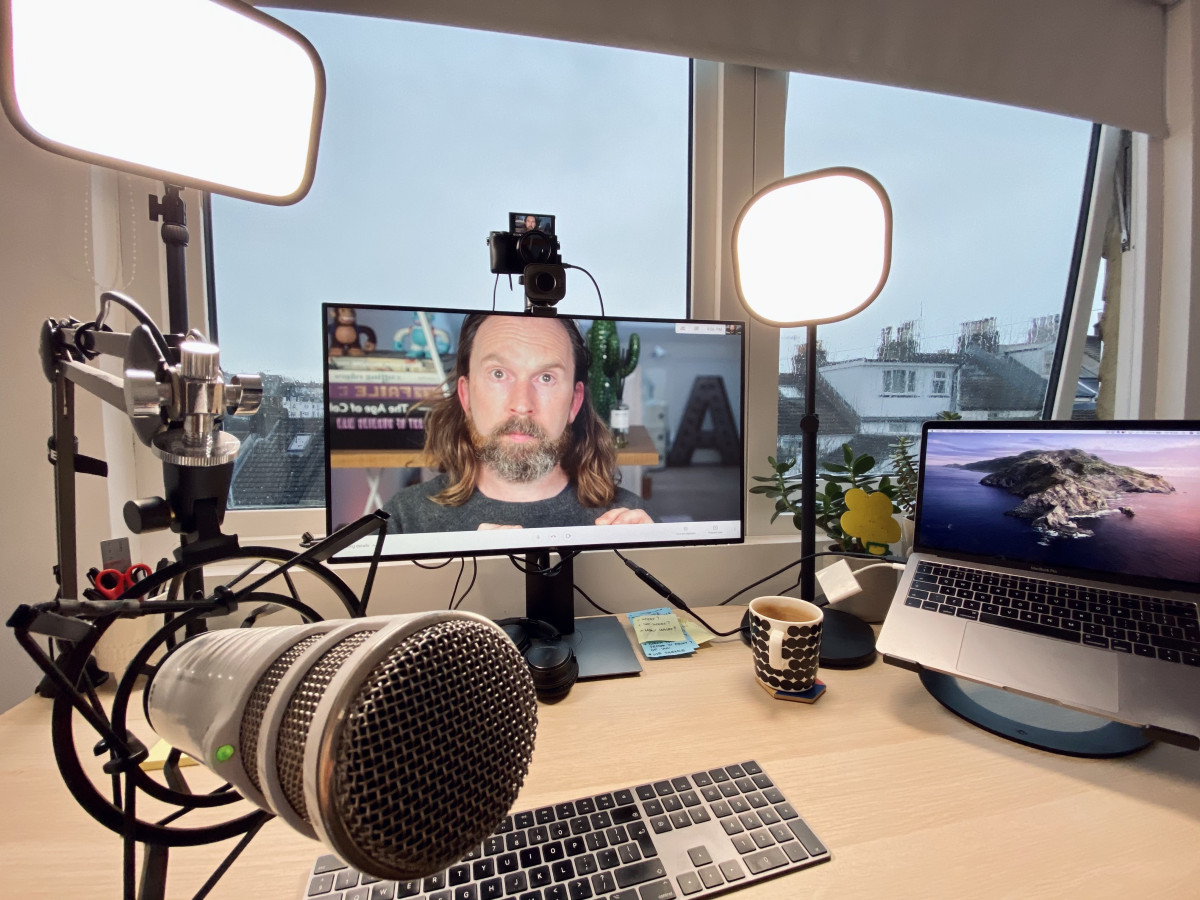
I really liked this set-up, but found that I was always looking down at my screen rather than at the person I was speaking to, or the wider audience. So my last trick was got get a little teleprompter hood. It's essentially a fairly simple piece of kit with an angled sheet of highly reflective glass. You rest your iPad flat in front of the hood, and the glass bounces whatever is on the screen up and into your eyes. The camera sits directly behind the glass, not picking up whats reflected, allowing you to look directly down the camera while simultaneously seeing what's on screen.
I'm using the built in tool that allows newer Macs to behave like a separate screen, so can drag my video window onto the teleprompter. This means that the screen is reversed, which isn't a big deal if you're just having video calls, but doesn't work if you want to read text. For that I've downloaded a dedicated teleprompter app which reverses the screen. Unlike many teleprompter apps which requires a remote to set the reading speed, this one understands text and follows the speed of your voice. It's a little bit glitchy at times, but works well enough for my needs.
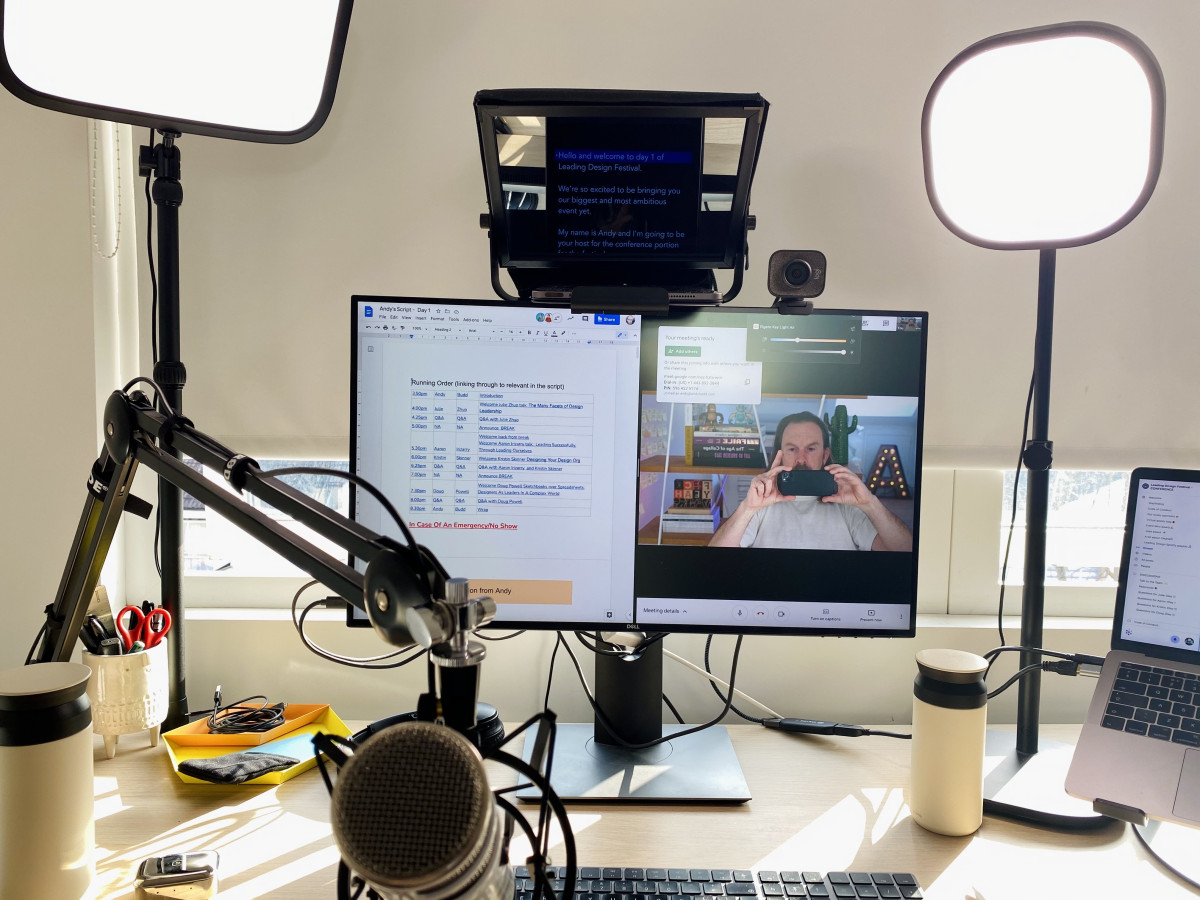
The very last thing I did was invest in a couple of Phillips Hue Play lights, to make the background look a little more interesting and professional. If I wanted to be really clever I could probably automate both the Elgato keylights and the Hue lights to turn on automatically when I start a call, but I haven't quite got round to that yet.
Anyway, here's the final result. Not bad huh?